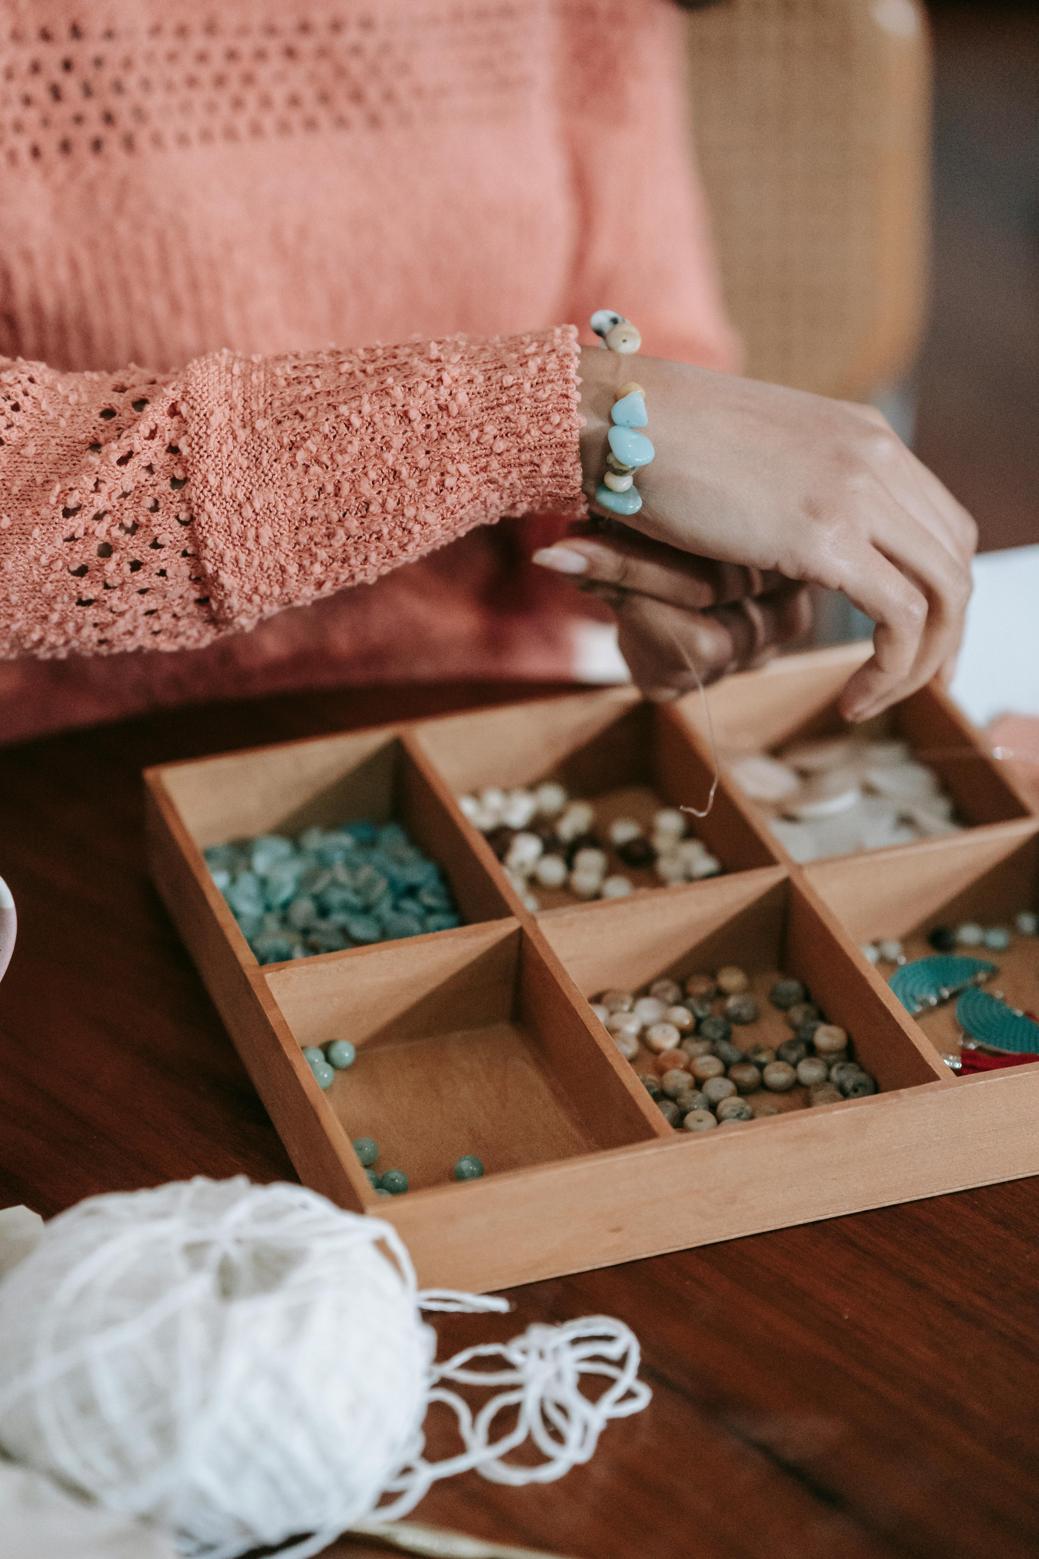
How to Make a Heart Bead Bracelet
Introduction
Creating a heart bead bracelet can be an enjoyable and fulfilling craft project that combines creativity with a touch of fashion. Whether you’re looking to make a unique piece for yourself or a personalized gift, crafting a heart bead bracelet allows you to express your love and artistic flair. This guide will walk you through the process step-by-step, ensuring that even beginners can produce a stunning bracelet that is sure to impress.

Materials Needed
Before you begin, gather all the necessary materials. Having everything on hand will make the process smoother and more enjoyable:
- Assorted beads (including one or more heart-shaped beads)
- Stretchy beading cord or string
- Scissors
- Crimp beads or jewelry clasp
- Bead board or mat
Step 1: Choosing Your Beads
Selecting the right beads is crucial for crafting a visually appealing bracelet. Start by considering the color scheme. Do you want a monochromatic look, or are you aiming for a more colorful mix? Besides the main heart bead, you’ll need additional beads that complement it.
There are various types of beads you can choose from:
- Glass Beads: These are shiny and come in various colors and sizes.
- Gemstone Beads: These add a touch of luxury and have unique patterns.
- Wooden Beads: They give a more natural and earthy look to your bracelet.
Keep in mind the size of the beads as well. Larger beads are more prominent but take up more space, while smaller beads allow you to include more intricate designs. Arrange your potential options on a bead board or mat to visualize how they look together before making a final decision.

Step 2: Preparing Your Workspace
After selecting the perfect beads, preparing a well-organized workspace will make the crafting process pleasant and efficient.
- Choose a Flat Surface: A clean, flat surface will ensure that none of your beads roll away.
- Lighting: Good lighting is essential for seeing the details and colors of your beads clearly.
- Tools and Materials in Reach: Place all your tools and materials within arm’s reach to avoid interrupting the flow of your work.
Use a bead board or a mat to arrange your beads and materials. This helps in keeping everything in place and allows you to experiment with designs before finalizing.
Step 3: Stringing the Beads
Once your workspace is ready and you’ve selected your beads, it’s time to start stringing:
- Measure and Cut the Cord: Measure your wrist and add an extra inch or two for tying knots. Cut the cord accordingly.
- Secure One End: Tie a temporary knot at one end or use a bead stopper to prevent beads from falling off as you string them.
- Start Beading: Begin stringing the beads in the order you have laid out. If using a repeating pattern, keep stringing until you reach the desired bracelet length.
Take your time and ensure each bead slides smoothly onto the cord. Periodically check the length by wrapping the unfinished bracelet around your wrist to ensure it’s progressing as planned.
Step 4: Adding the Heart Bead
The heart bead is often the focal point of your bracelet, so it deserves special attention:
- Placement: Decide where you want the heart bead in your bracelet. The center is a common choice as it draws attention to it.
- String the Heart Bead: Once you have strung a sufficient number of regular beads, add the heart bead to the cord.
- Continue Beading: After adding the heart bead, continue with the remaining beads until the bracelet reaches the preferred length.
Ensure that the heart bead is securely placed among the other beads, enhancing its prominence without overshadowing the overall design.

Step 5: Fastening Your Bracelet
Finalizing your bracelet involves securing the ends so that your beautiful creation stays intact:
- Remove the Temporary Knot or Bead Stopper: Gently undo the knot or remove the stopper from the end of the cord.
- Tie the Ends Together: For a stretchy cord, tie a secure knot, such as a double knot or a surgeon’s knot. For a non-stretchy cord, use crimp beads to clasp it securely.
- Trim Excess Cord: Once the ends are tied or crimped, cut off the excess cord close to the knot or crimp bead.
- Add Jewelry Clasp: If desired, attach a jewelry clasp for an adjustable and professional finish.
Give the bracelet a gentle tug to ensure they’re securely fastened. The last thing you want is for your beautiful bracelet to come apart.
Conclusion
Creating a heart bead bracelet is a delightful and rewarding DIY project. By following these steps, you can craft a unique and stylish piece of jewelry that showcases your creativity and effort. Whether you’re a beginner or experienced crafter, this guide aims to make the process straightforward and enjoyable.
Frequently Asked Questions
What is the best type of string to use for a bead bracelet?
Elastic beading cord is highly recommended for its flexibility and ease of use, especially for beginners.
Can I use different shapes of beads in my bracelet?
Absolutely! Mixing different shapes like round, oval, and square can add a unique and interesting texture to your bracelet.
How do I care for my finished bead bracelet?
Store it in a jewelry box to avoid tangling and clean it gently with a soft cloth to maintain its shine and integrity.
