How to Make Macrame Necklace with Beads
Introduction
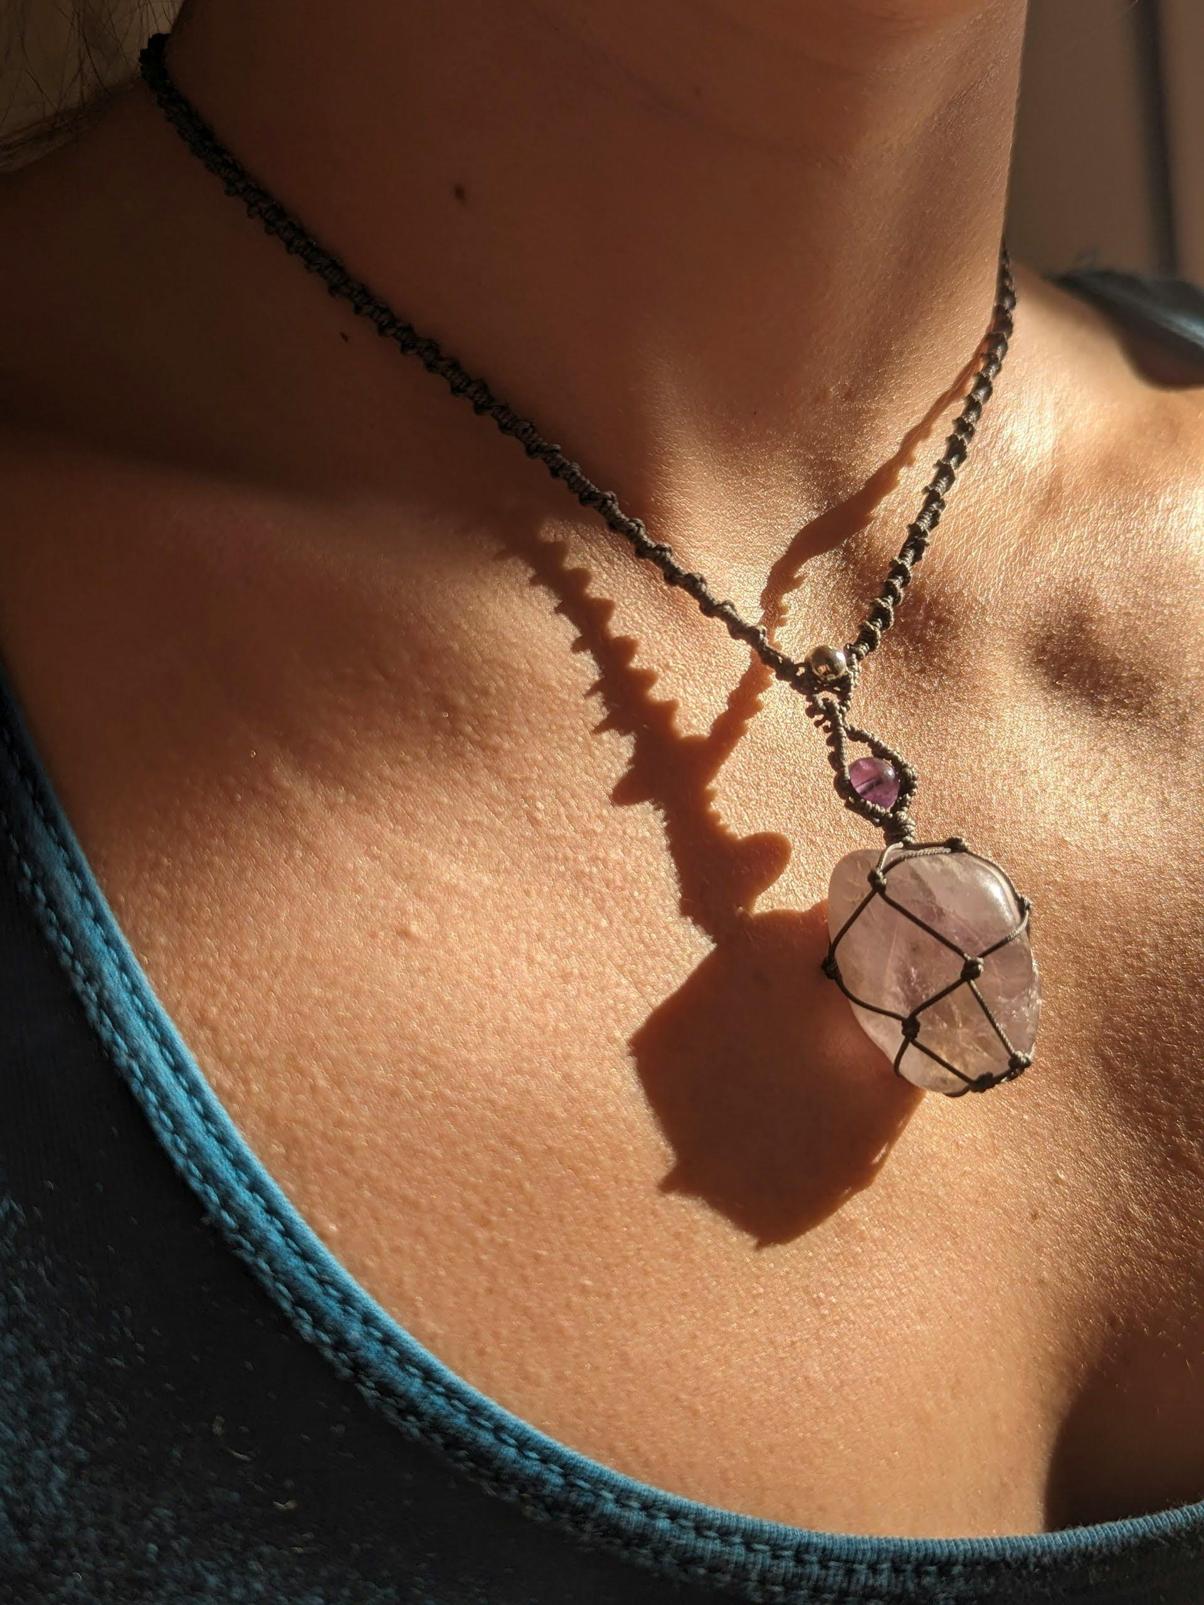
Creating your own macrame necklace with beads is a fun and rewarding DIY project. Not only does it allow you to wear a piece of jewelry that you made with your own hands, but it also lets you unleash your creativity. This guide will walk you through the entire process, from gathering materials to finishing with finesse. Follow these detailed steps, and you’ll have a beautiful macrame necklace to wear or gift.

Materials Needed
Before you start making your macrame necklace, make sure to gather all the necessary materials. Here’s a list to get you started:
- Macrame Cord: Choose a quality cord that is durable and easy to work with. Cotton cord is a popular choice for its flexibility.
- Beads: Select beads that complement your design. Wooden or glass beads are ideal for a natural look.
- Scissors: A sharp pair of scissors will help you cut the cord cleanly.
- Tape Measure: Accuracy is key when measuring your cord.
- Macrame Board: Although optional, a macrame board will make the process easier by holding your work in place.
- Pins: Used to secure the cord to your macrame board.
Having all these supplies on hand will make the crafting process smoother and more enjoyable.
Preparing Your Workspace
Creating a comfortable and organized workspace is crucial for any craft project. Here’s how to prepare your area:
- Choose a Flat Surface: A large, clean table is ideal. Make sure you have enough space to spread out your materials.
- Good Lighting: Proper lighting helps you see the details clearly. Natural light is best, but a good desk lamp will also do.
- Keep Tools Nearby: Arrange your scissors, tape measure, and pins within easy reach. Having a small tray or container for beads can also be helpful.
- Music or Background Sound: A little background music can make the experience more enjoyable. Choose something calming and not too distracting.
Once your workspace is set, you are ready to start creating your macrame necklace.

Step-by-Step Guide
Step 1: Selecting and Measuring Cord
The first step in making your macrame necklace is selecting and measuring your cord.
- Choose the Right Cord: For beginners, 3mm cotton cord is ideal due to its flexibility and ease of use.
- Measure and Cut: Measure four strands of cord, each about 1.5 times the desired length of your finished necklace. It’s always better to have extra cord than to run short.
- Burn the Ends: To avoid fraying, gently burn the ends of the cord with a lighter.
Step 2: Attaching the Cord to the Board
Once your cords are measured and cut, attach them to your macrame board.
- Fold Each Cord in Half: Create a loop at the halfway point.
- Attach via Lark’s Head Knot: Place the loop under a pin on your macrame board, then pull the loose ends through the loop to secure it. Repeat for all cords.
Step 3: Starting the Basic Knots
With your cords secured, you can now start knotting.
- Divide the Cords: Separate the cords into pairs.
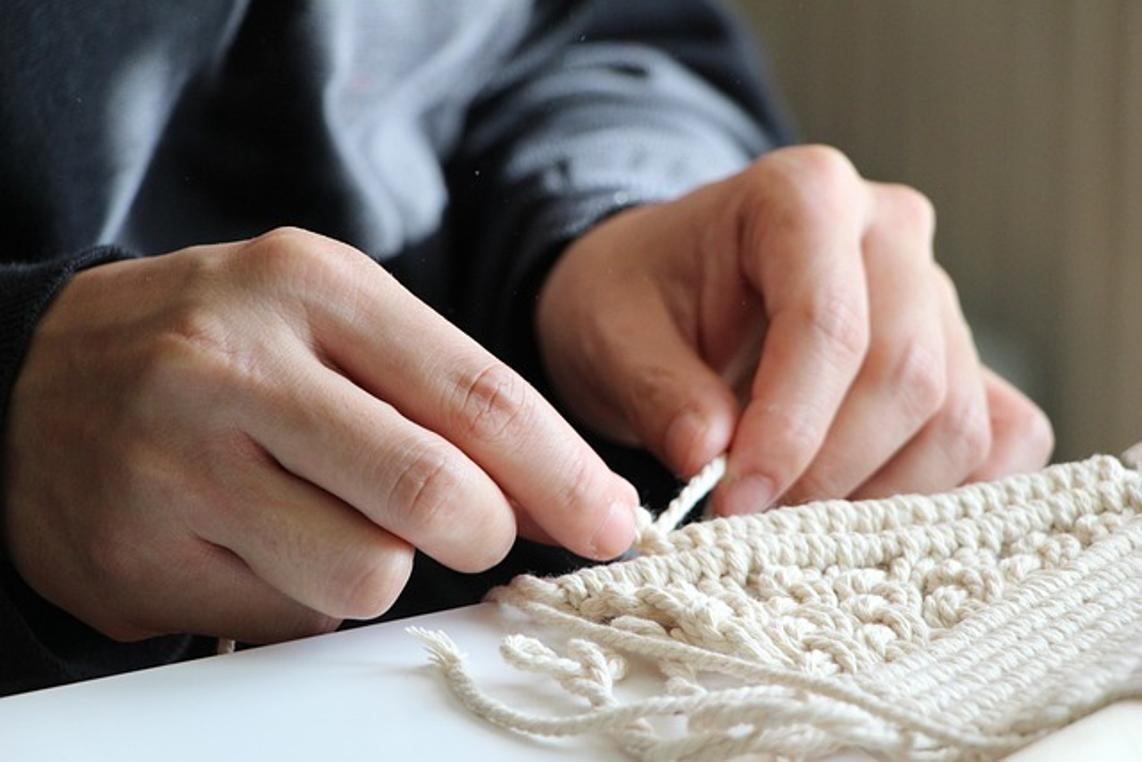
- Square Knot: Using two middle cords as the base and two outer cords for knotting, create a square knot. Cross the right cord over the middle, and the left cord over the right. Pull through and tighten.
- Repeat: Continue making square knots until you have a few inches of braided cord.
Step 4: Incorporating Beads into Your Design
Adding beads can elevate the look of your necklace. Follow these steps to incorporate beads:
- Thread a Bead: Slide a bead onto the middle two cords.
- Secure with Knots: After each bead, tie another square knot to secure the bead in place.
- Spacing: Decide on the spacing between beads. Consistent spacing ensures a balanced design.
Step 5: Creating Patterns with Knots and Beads
With beads incorporated, focus on creating patterns.
- Alternate Knots: Mix different knot types (e.g., spiral knots) for variety.
- Repeat Patterns: Establish a repeating pattern for a cohesive look.
- Add More Beads: Continuously add beads and secure with knots according to your pattern.
Step 6: Finishing Your Necklace
To finish your macrame necklace:
- Final Knots: Tie off your design with several sturdy knots.
- Cut Excess Cord: Trim any extra cord with your scissors.
- Add Clasp: If desired, attach a clasp to the ends of your necklace for easy wearing.
Tips and Tricks
- Consistent Tension: Keep the tension consistent in your knots for a polished look.
- Practice: Practice basic knots on scrap cord before starting your necklace.
- Variety of Beads: Experiment with different beads to find what works best for your design.

Common Mistakes to Avoid
- Incorrect Measurements: Always measure your cord accurately to avoid running short.
- Loose Knots: Ensure your knots are tight to keep beads in place.
- Skipping Previews: Always preview your pattern off the board to see how it looks.
Conclusion
Making a macrame necklace with beads is a rewarding and creative endeavor. By following this detailed guide, you’ll be able to produce a stunning necklace that showcases your craftsmanship. Plus, you’ll have fun along the way!
Frequently Asked Questions
Can I use any type of beads for macrame necklaces?
While you can use a variety of beads, make sure they are not too heavy and that the hole is large enough for your cord.
How long does it typically take to make a macrame necklace?
It typically takes a few hours, but this can vary based on the complexity of the design and your level of experience.
What type of cord is best for beginners?
For beginners, a 3mm cotton cord is recommended due to its flexibility and ease of use.
